Goal
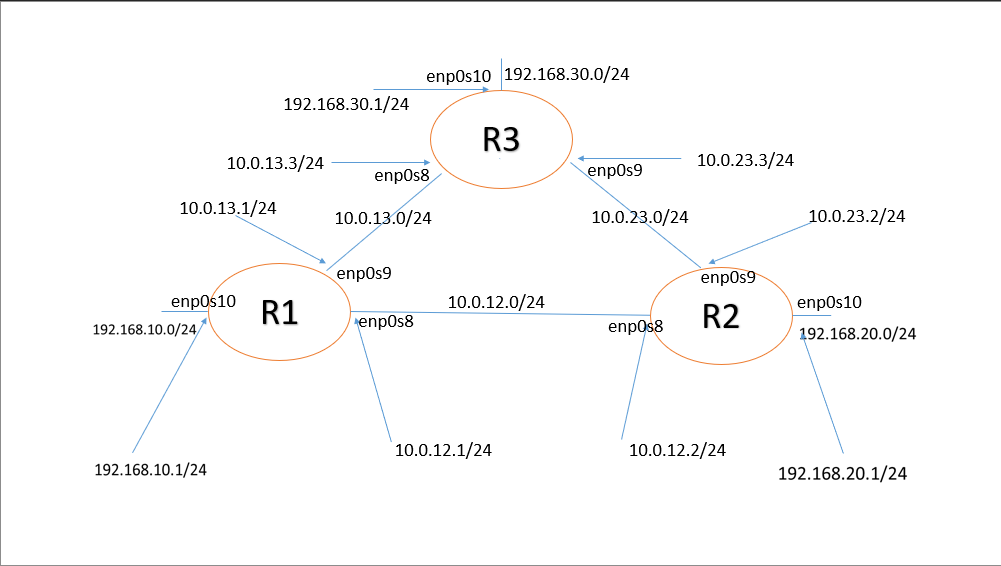
Set up three virtual routers that is interconnected with following subnets.
Requirements
- Oracle VirtualBox
- Ubuntu Server 22.04.5 ISO Link
Install Ubuntu Server
Create a new VM in VirtualBox with the Ubuntu server ISO.
Make sure to uncheck Unattended Installation We are installing it the manual way ;)
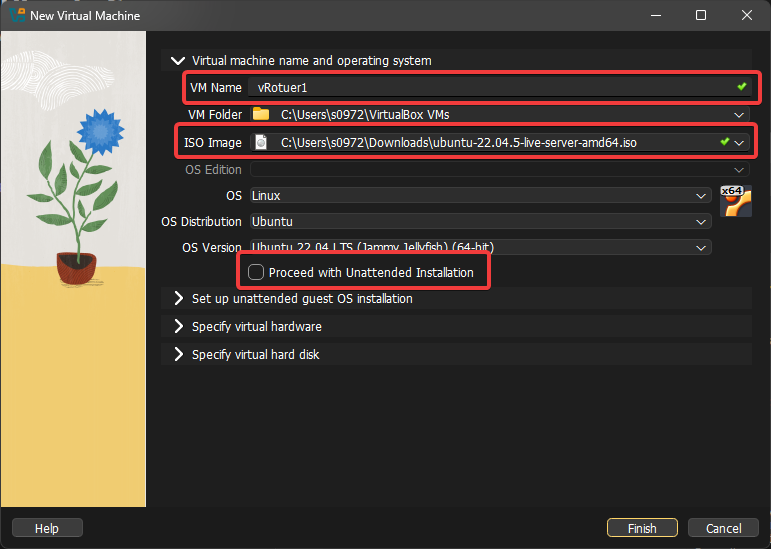
You can adjust the specs based on your needs.
WARNING
Make sure you give it at least 2048MB of RAM during installation.
The Installer requires more RAM during installation.
You can reduce the RAM allocation to 1024MB after installation.
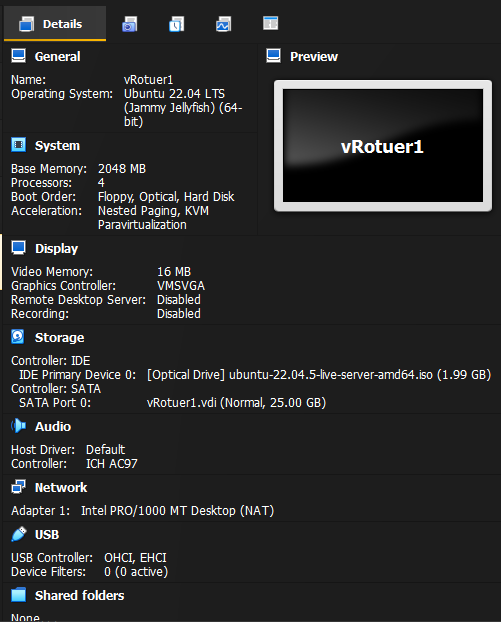
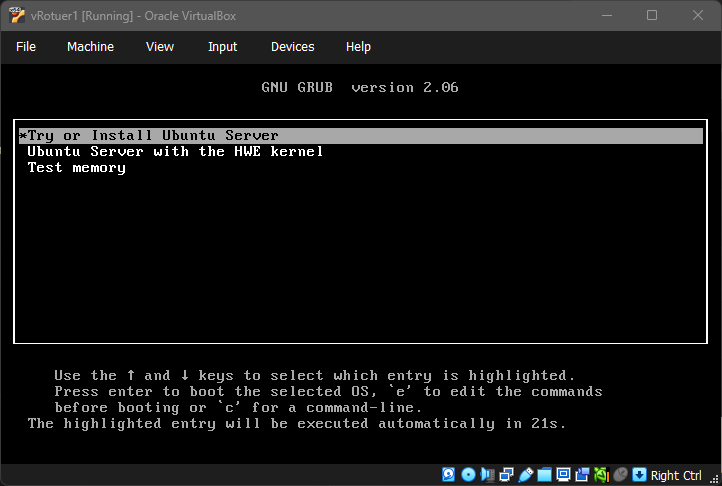
Now you can boot the VM.
After booting you can press Enter to boot to the installer faster.
NOTE
Unlike the Ubuntu Desktop installer the Server installer can only be navigated via keyboard.
After that it tells you to select a language.
Just press Enter to choose English.
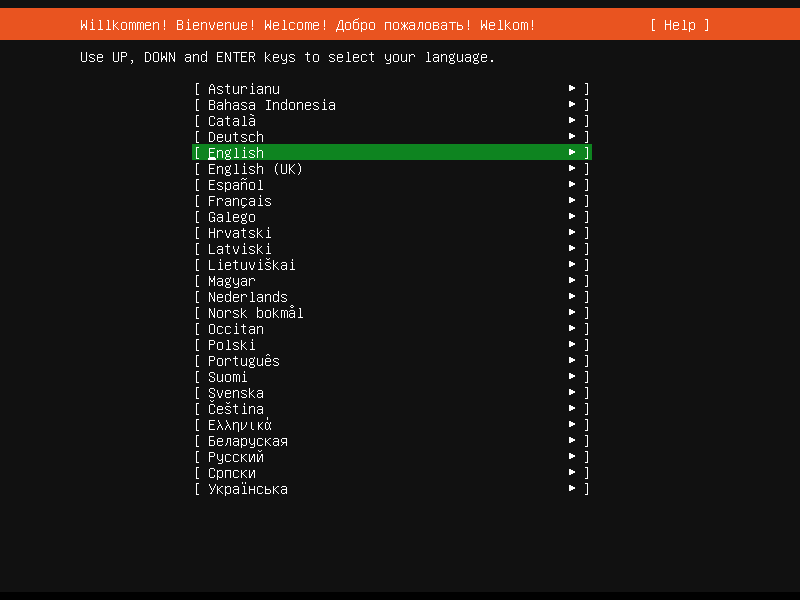
Sometimes it will recommad you to update the installer.
I usually choose not to.
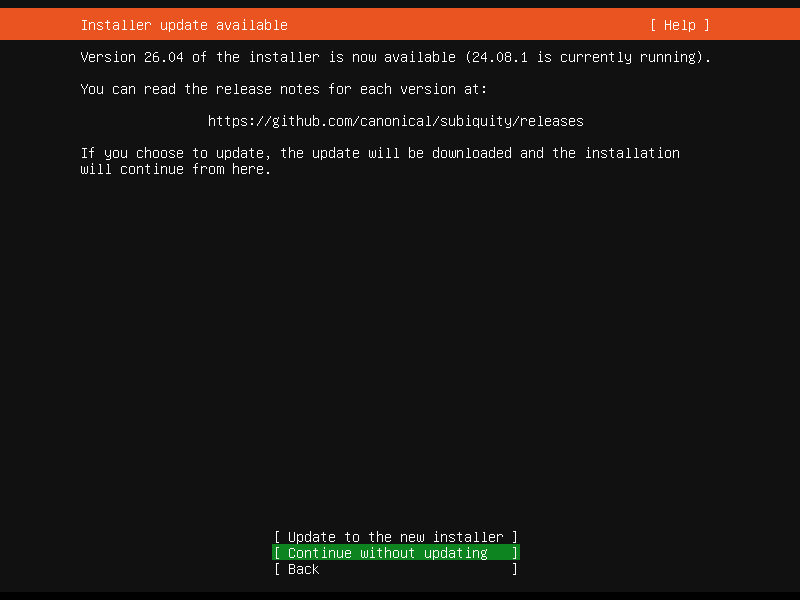
After pressing some enters.
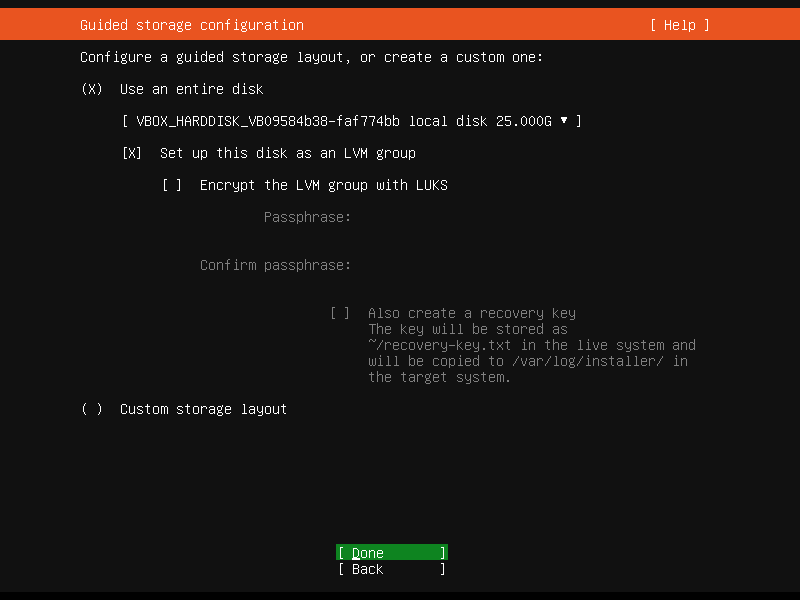
It will ask you where you want to install the OS.
The default one is fine.
So just use arrow key to move down and select Done.
After more pressing enters.
It will ask you to create a user account and name the system.
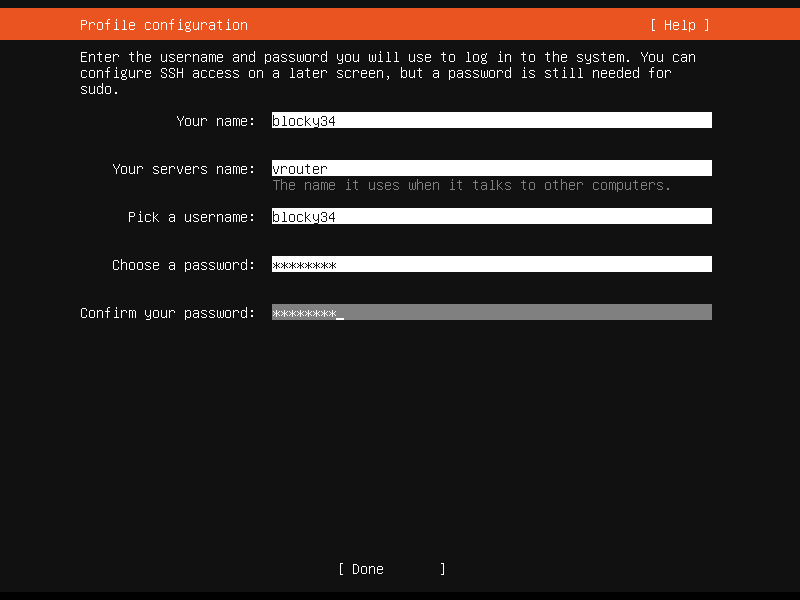
You can install the OpenSSH server here.
If you might want to connect to it via SSH in the future.
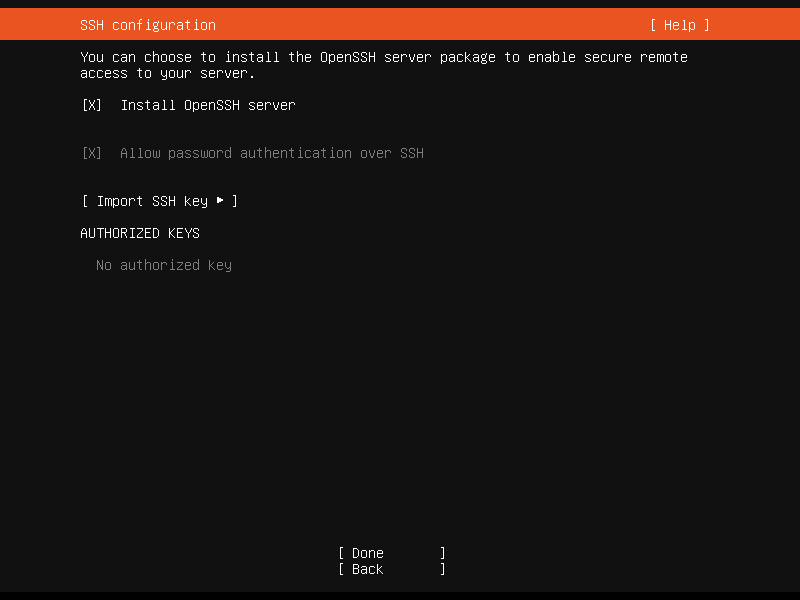
After you reach this screen all you need is just wait.
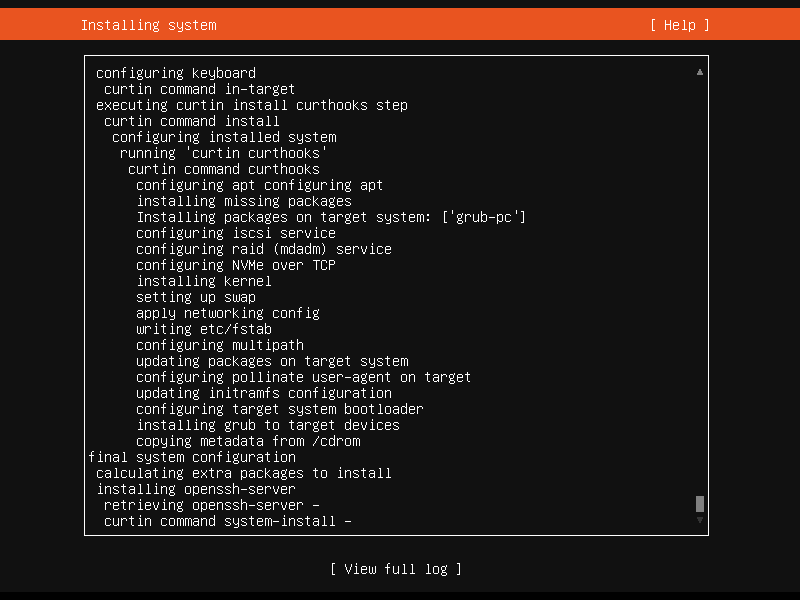
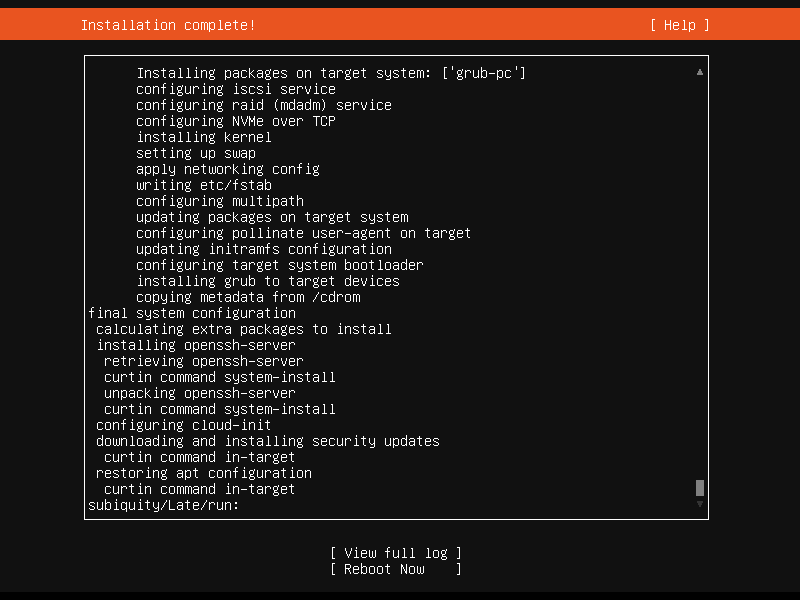
After a while a Reboot Now button will show up.
It means the installation has finished now you can use your arrow key to move down to the button.
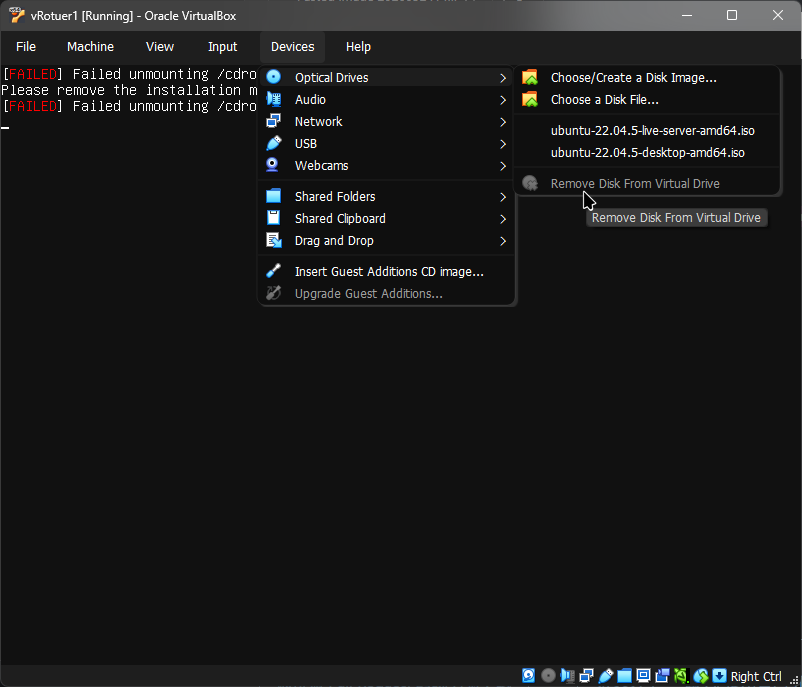
When rebooting it might say that it cannot remove the cd rom.
but VirtualBox usually already removed it you can check it by going to the menu.
After checking just press Enter.
If for some reason the VM stuck when rebooting.
Just use the reset button.
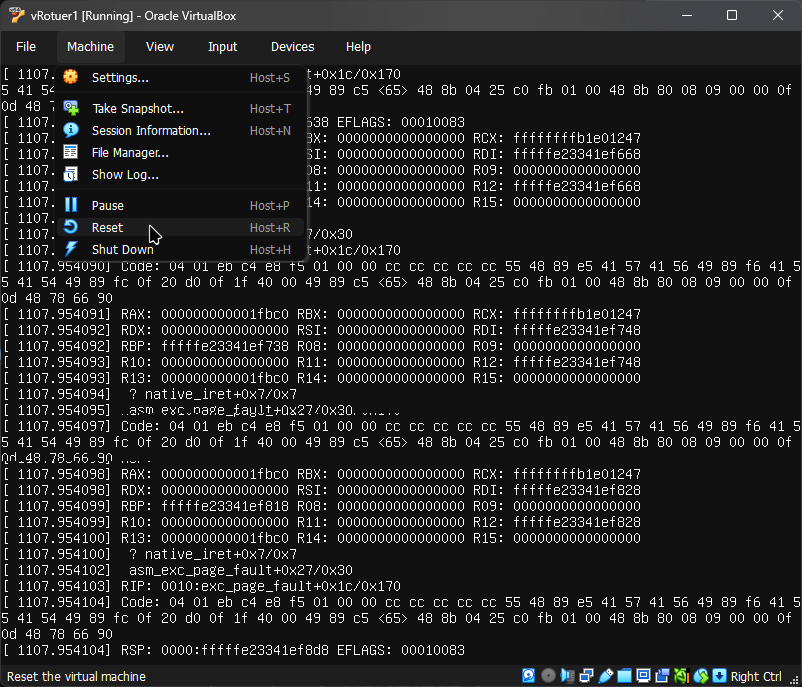
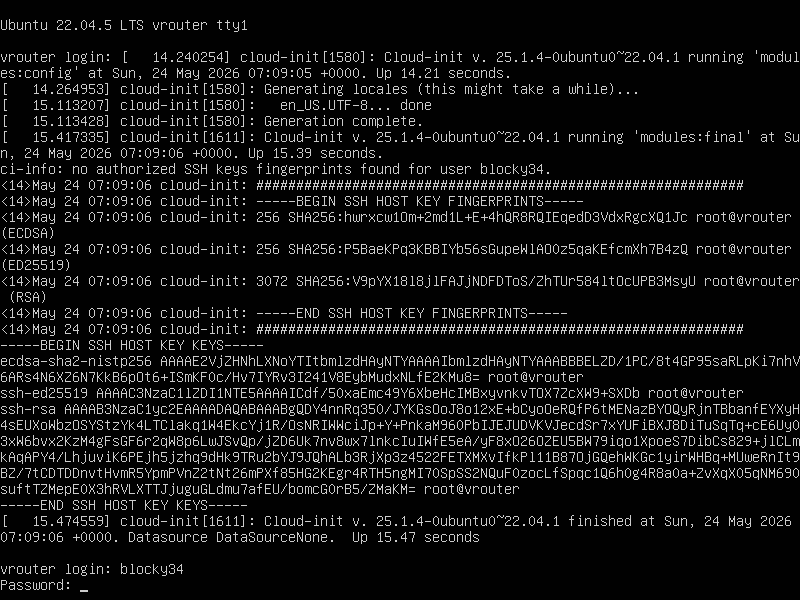
After successfully rebooting.
You will be greeted by the login screen.
NOTE
You might see the
cloud-initstuff popping up and blocked your login prompt .
Just press Enter to a new line the login prompt will show up again.
Now type in your username and password to login.
NOTE
When typing password nothing will show up.
This is totally normal to hide your password.
Just press enter after you typed the password.
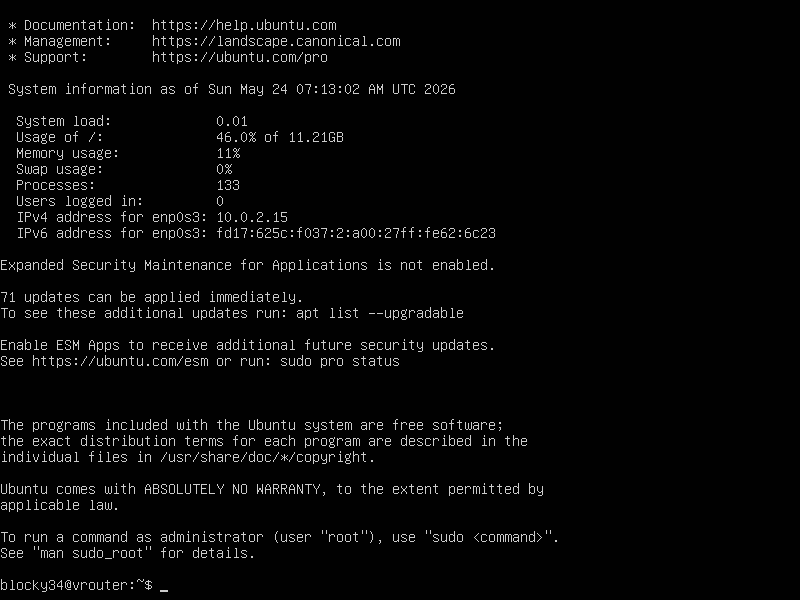
Congrats! The installation is done.
You are now greeted with the console.
NOTE
Copy and Paste won’t work even if you installed the Guest Tool.
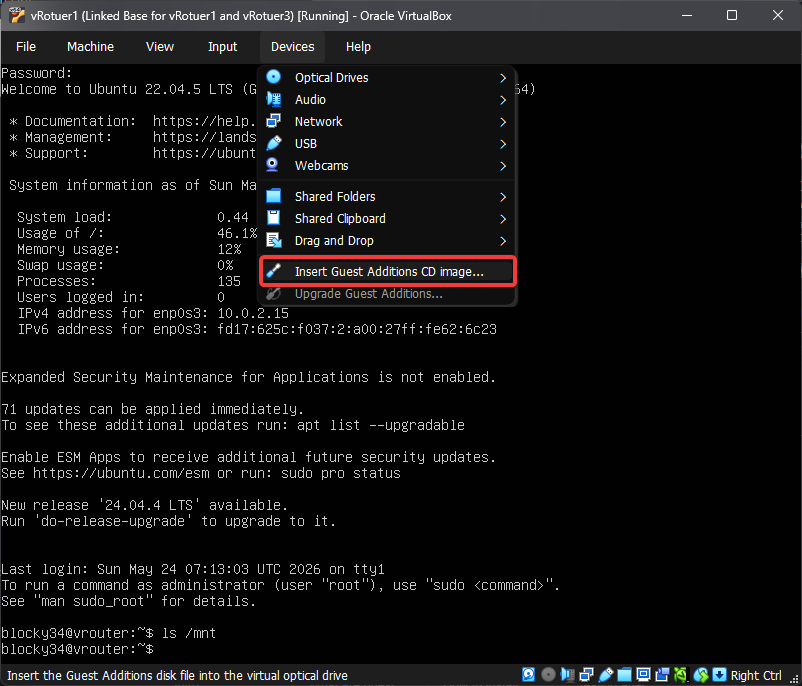
Install VirtualBox Guest Tool
Insert the guest tool CD image in the menu
Create directory for CD rom
sudo mkdir /media/cdromMount the CD rom to /media/cdrom
sudo mount /dev/cdrom /media/cdromInstall dependencies
sudo apt install build-essential -yInstall Guest tool
cd /media/cdrom
sudo ./VBoxLinuxAdditions.run
Clone VMs
The goal require three router so in this step we are going to copy the first VM we just installed so we don’t have to install it again.
Select Clone on the right click menu.
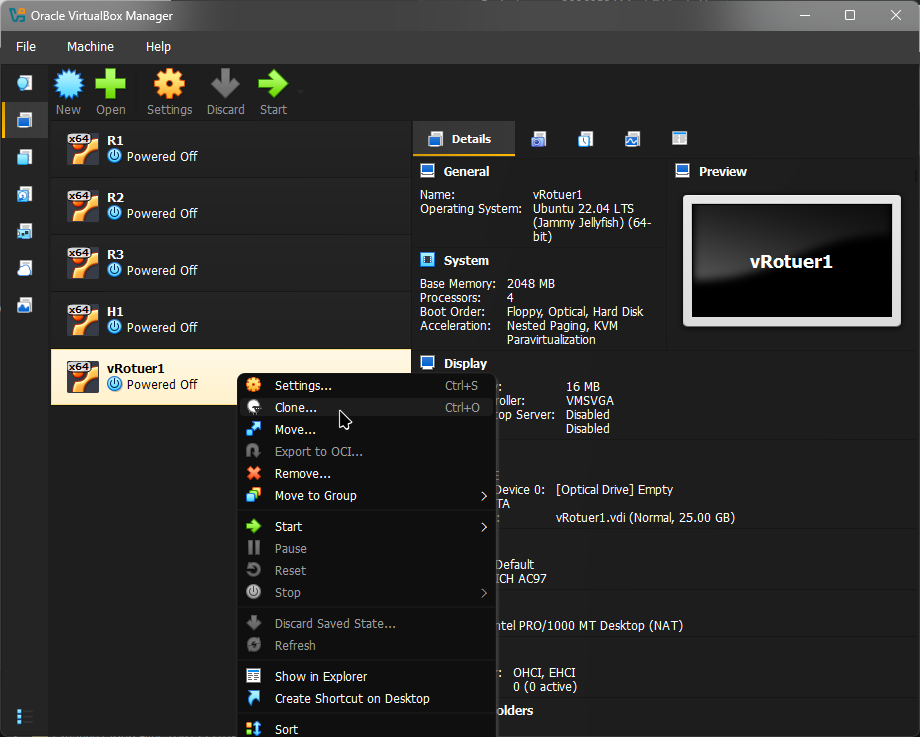
Give the new VM a new name.
Make sure you chose the Linked Clone to save some disk space.
Also choose Generate new Mac address for the MAC address Policy.
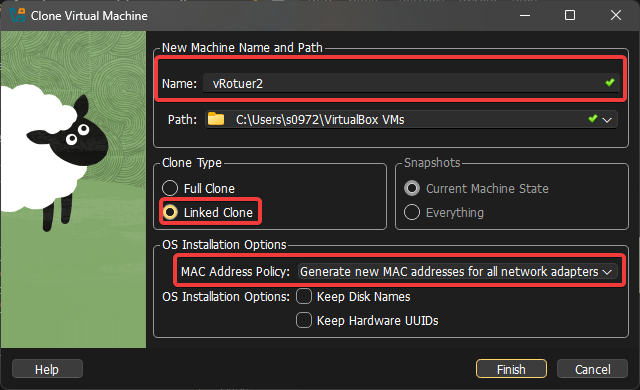
After that do the same process again for the third VM.
Set up virtual routers
NOTE
For now I am only showcasing the config process for
R1.
R1
Setup network connection
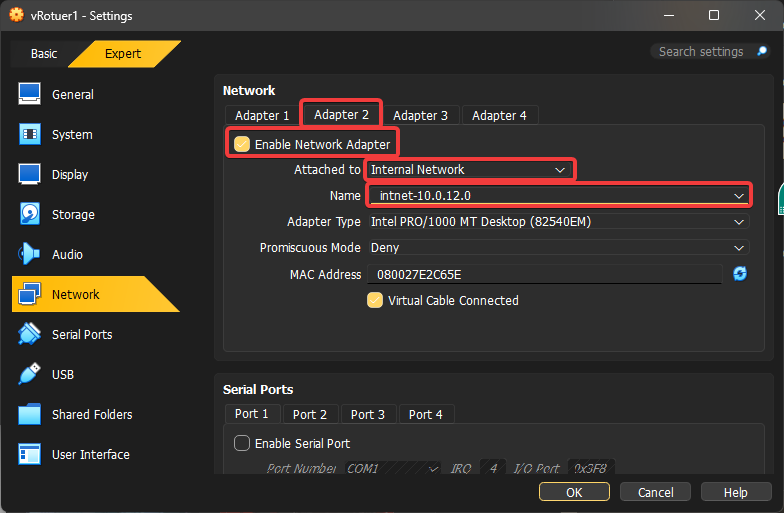
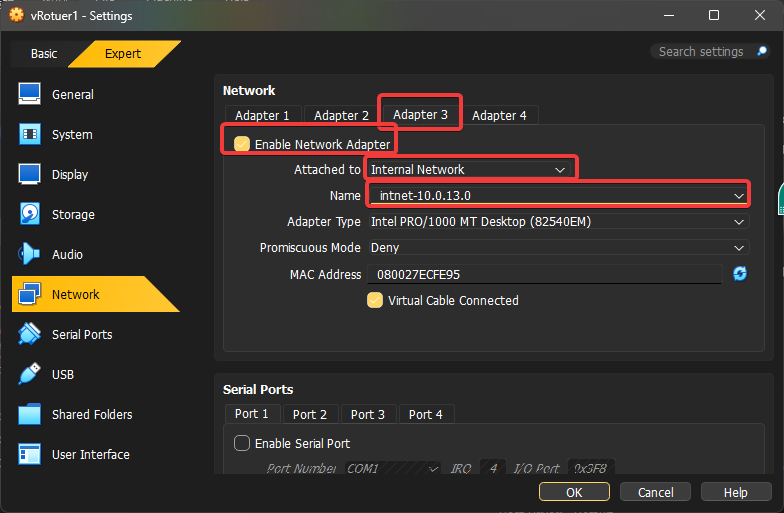
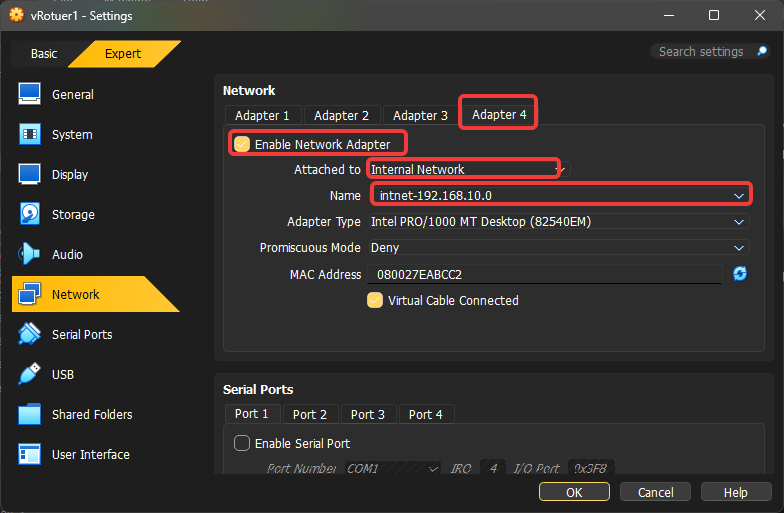
Mount file share
Because we cannot copy and paste from the host.
The most convenient way to share file is to share file from the host.
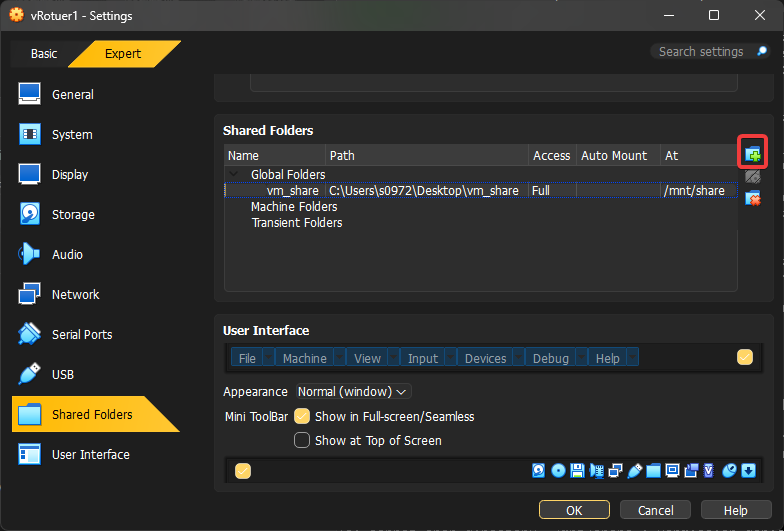
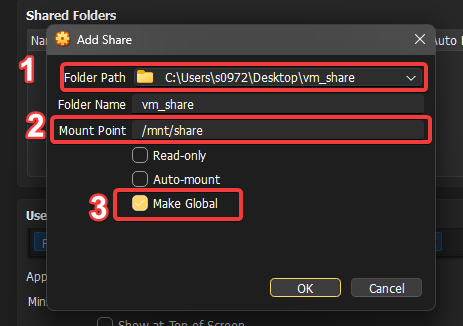
- Select the folder you want to share on you host
- Mount the share folder at
/mnt/sharein the VM - Make it global so all VMs will have this folder
If the folder didn’t appears in /mnt/share
If this happens we have to manually mount the folder.
First create the mount point
sudo mkdir -p /mnt/shareNow mount the folder share
NOTE
The
vm_sharename is from the Folder Name when creating the share.
Please replace it if the Folder Name is not as same as the example.
sudo mount -t vboxsf vm_share /mnt/shareSet up FRR
I have written two file that is saved in the share folder.
01-network-manager-all.yaml
# Setup IPs for router 1
network:
  ethernets:
    enp0s8:
      addresses: [10.0.12.1/24]

    enp0s9:
      addresses: [10.0.13.1/24]

    enp0s10:
      addresses: [192.168.10.1/24]

    enp0s3:
      dhcp4: true
  version: 2
frr-setup.sh
sudo cp ./01-network-manager-all.yaml /etc/netplan
sudo systemctl restart systemd-networkd.service
sudo netplan apply


sudo apt-get install frr

echo "net.ipv4.conf.all.forwarding=1" | sudo tee -a /etc/sysctl.conf
echo "net.ipv4.conf.default.forwarding=1" | sudo tee -a /etc/sysctl.conf
sudo sysctl -p

echo "net.ipv4.conf.all.mc_forwarding=1" | sudo tee -a /etc/sysctl.conf
echo "net.ipv4.conf.default.mc_forwarding=1" | sudo tee -a /etc/sysctl.conf
sudo sysctl -p
After putting the two files into that shared folder.
We have to copy it.
sudo cp -r /mnt/share ./shareNow we go into the folder and run the setup script
cd share
sudo chmod +x frr-setup.sh
./frr-setup.sh
Set up RIP
First we have to enable the ripd daemon.
vi /etc/frr/daemonsChange the ripd line to yes.
...
ripd=yes
...
Restart FRR service.
sudo systemctl restart frrGreat! Now RIP is enabled.
We now have to config it.
To get into the FRR shell type following command.
sudo vtyshNow we enter the config mode for RIP.
vrouter# conf t
vrouter(config)# router rip
After that we enable routing on subnets and interfaces.
vrouter(config-router)# network 10.0.12.0/24
vrouter(config-router)# network 10.0.13.0/24
vrouter(config-router)# network 192.168.10.0/24
vrouter(config-router)# network enp0s8
vrouter(config-router)# network enp0s9
vrouter(config-router)# version 2
Exit the config mode and save the changes
vrouter(config-router)# exit
vrouter(config)# exit
vrouter# copy run startup
Now RIP should be working.
Set up other routers to test it out!